

News of the San Fransisco-based Letterform Archive’s acquisition of 6,000+ master drawings of Linotype faces. Great examples of the drawings of some of the key Linotype faces at the foot of the article.
Tag: Linotype
-

GreatBigStory.com: The Saguache Crescent
From greatbigstory.com –
“The Saguache Crescent” newspaper in Saguache, Colo., has been printing its news the same way since the 1800s. Lay the letters. Ink. Press. Publisher Dean Coombs’ family has had the business for three generations, and has helped print out the weekly broadsheet on a linotype since he was 12 years old. See how the news is made the hard way.
-

Hiring Hot Metal Compositors
I’d missed this in July (not sure how) about friends at Urban Cottage Industries hiring for line casting machine operators.
-
Urban Cottage Industries: Letterpress Interview
Urban Cottage Industries asked that I join their printer, David Evans, to discuss letterpress printing. They run a battery of linecasting machines and run a number of presses to create their bespoke and short-run printed goods. David — when back at Airedale Products — was good enough to discuss printing with my as I got started around ten years ago
-
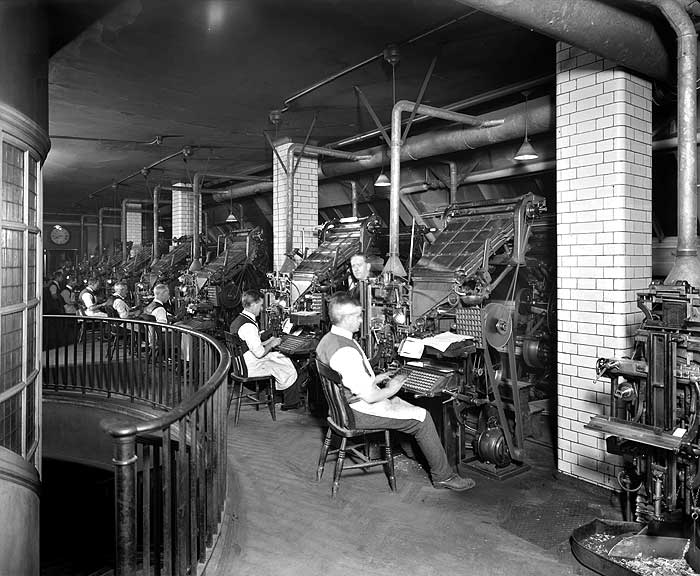
Linotype and Intertype Salvage
Note: Local friends at Urban Cottage Industries rely on these machines today, and run a battery of Linotypes under David Evans. This article is only a last resort!
This is an account — in note form — that David M. MacMillan sent me to advise on linecaster salvage. David also add this: “I very much prefer to save linecasters as complete, functional machines. The steps outlined are for those situations where this
is impossible and you’re just trying to save as much as you can”Important things to get
- Matrices, magazines and rack
- Heating Element
- Spare oils/graphite
- Any paperwork
- Bulbs/fuses
- Spacebands
Second priority
- Tools, especially
- magazine cleaning brushes
- pot cleaning and pot well scraping tools
- wire hooks (often shop-made, for pulling mats out of magazines; you can re-make them, but any with the machine were made by someone with experience)
- Beyond that you’re into pulling spare parts off the machine.
General disassembly approach
I’d start in this order, depending on time and space and type of machine:
- Keyboard up to magazines:
- keyboards (especially if removable, as is likely)
- keyboard cam/yoke assembly
- the escapement assemblies (brass assemblies in the magazine frames, one per magazine)
- if disassemblable, the “reeds” (rods) going up from the keyboard to the escapements
- Skipping up to the distribution
- (on US machines at least) the entire distributor bar assembly at the top of the machine comes off. If you can manage the space, get both, as complete assemblies. It’s a two-person job to lift them off (or some kind of hoist), especially if it is a “mixer” machine with two distributors
- take the Distributor Boxes off (where the mats go in to the Distributor) separately before removing the Distributor Bar. It’s a left-hand screw on the handle to release them; turn it and wiggle the Box free
- channel entrance parts (what the mats fall through when they leave the distributor to go to the magazines); lots of little vane-type things.
- Assembly
- the star wheel
- the spaceband box (comes out as a unit)
- maybe the assembler slide
- the transitional piece (I’m forgetting the name) which the mats go through between the assembler slide and the vise. This is a cast-iron framework, curved on the bottom. It is sometimes broken if someone slams the vise closed, so it’s good to have spares.
- Thevise and first elevator, and rest of front
- whatever comes off, especially the vise jaws and other bits themselves
- the “measure control” which connects the vise up to the indicating device over the keyboard which tells you how far you’ve set.
- Pot
- you had mentioned heating element, but I’m not sure how you’ll get it out. US linotypes used elements immersed in the metal. Intertypes used elements separate, in the pot wall.
- The thermostat/heating control. If you can get this out with the thermostat elements included, that would be best. But those elements may have their far ends frozen into the pots. Do not cut these; I believe that they are mercury tubes. If they can’t come out, unhook them from the heater control and take the control unit for its parts.
- Second Elevator
- the carrier element which holds the mats on their way up
- the “shifter” which pushes them into the Distributor, and if possible the long arm which operates the shifter.
- Power
- if the main motors are of the type which are geared into the drive, try to get them. (Belted-in motors are easier to find.) But I don’t know UK designs here
- if you have time and can do it, it is nice to have the cam rollers, as these can go bad (I’ve got an example from a friend’s Ludlow that I plan to photograph). But BE CAREFUL. Everything in a Linotype is pre-loaded with powerful springs.
- Others
- The nameplates
- anything else that comes off: magazine frame parts could be useful — but be very careful about the mechanism which raised-lowered the magazines. On Blue Streak and later US Linotypes, this was done by very strong coiled springs — dangerous to release suddenly. On Intertypes it is more a fore-and-aft geared motion.
Additional Points
- Molds. Important to have. Most Linotypes had four molds on the mold disk (though early ones had as few as two and some had six; the molds for six-disk machines were slightly different). You should definitely get at least the molds. You could either take them out individually, or you could remove the whole mold disk with them in it (the mold disk can warp, so it’s good to have spares), or you could pull the entire mold disk slide assembly out and keep it. That would be best, because it would also give you the parts for the ejector blades.
- if there’s a box or tray or galley near the machine with a bunch of little strips of metal, generally in pairs (long and short) often marked with, e.g., “14 pt to 30 Em”, these are the mold liners. Get them! They’re what fits in the mold to adapt the mold to a specific body height and line length. They may look flat, but they’re carefully machined with a 0.002 inch taper to them! BTW, English “depth of strike” in matrices (how deep the letterform image is in the matrix) differed from US practice. So UK mats and molds are not interchangeable with US mats and molds.
- Oh, and if it happens that the machines are late enough that they have the Electromatic Safety Device (or some UK equivalent), which has a vacuum tube in it (yes, really), then get at least the vacuum tube, and perhaps best the box/circuit boards it sits in/on. Replacing vacuum tubes in the future is going to be a whole lot harder than replacing mechanical elements.
- Also, though it’s a long shot, look in the vicinity of the machines for supplementary tools — anything that looks like it might fit the teeth of a matrix; matrix repair tools, matrix milling tools, plunger cleaning brush tools (in the US, the Ewald brand; basically a rotary brush in a box). All of this stuff may be long gone, but if it’s there it’s worth having. There were also very simple matrix repair files — a little set of two fine files arranged parallel with each other on feet. Also there were holders for the matrices for cleaning — medium-to-long sticks that you’d line up all the mats in, clamp down with a screw at the far end, and then clean one-side-at-a-time. There may also be a board covered with graphite dust — this was used to “polish” the spacebands in graphite. It’s just a board, but it is nice to have the original, even if shop-made (a bit of history).
I’ve got docs for a couple of these things at: http://www.circuitousroot.com/artifice/letters/press/compline/index.html
Also that site has the “erection manuals” for the Model 5 and Model 31 (UK); these would be good to read, as they do the reverse of what you’re doing (putting together, vs. taking apart).
Also, if there’s anything that says “mold polish”, get it. In the US these were often in round flat tins from Dixon; don’t know about the UK.
Again, be very careful. Most things are spring-loaded, and they’re all heavy with often sharp edges. I had the first elevator of my C4 stick in a raised position once, when I didn’t know the sequence of the machine. It unstuck itself and came crashing down to where my fingers were just seconds before. I was very, very lucky.
Do you know about the online (PDF) version of Linotype Machine Principles which Jerry Spurling has online on his site: www.linotype.org Worth reading. It is US vs UK, but it was the basic technical reference for the US machines from the 1930s.
-

Amberley Museum, West Sussex
The Print Workshop at Amberley Museum is looked after by enthusiastic volunteers in this expansive museum.
There’s plenty to see including recently-restored Linotypes.
Amberley Museum & Heritage Centre, Houghton Bridge, Arundel, West Sussex, BN18 9LT
-

Cambridge Museum of Technology
The Cambridge Museum of Technology houses a print shop which includes iron hand presses, small presses and Linotype and Monotype composing machines.
Cambridge Museum of Technology, The Old Pumping Station, Cheddars Lane, Cambridge, CB5 8LD -
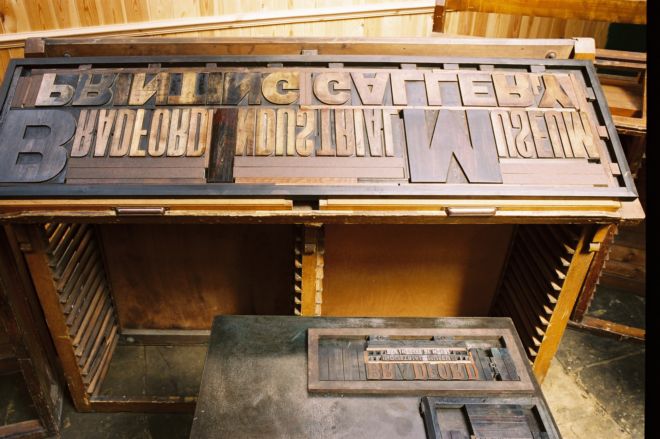
Bradford Industrial Museum
Bradford District Council’s Industrial Museum has a large area dedicated to printing, supported by a band of enthusiastic volunteers. Maps and opening hours are online, but a visit on Wednesday afternoon is normally when there’s most activity in the printing shop.
Bradford Industrial Museum and Horses at Work, Moorside Mills, Moorside Road, Eccleshill, Bradford, BD2 3HP -
Type and Typography
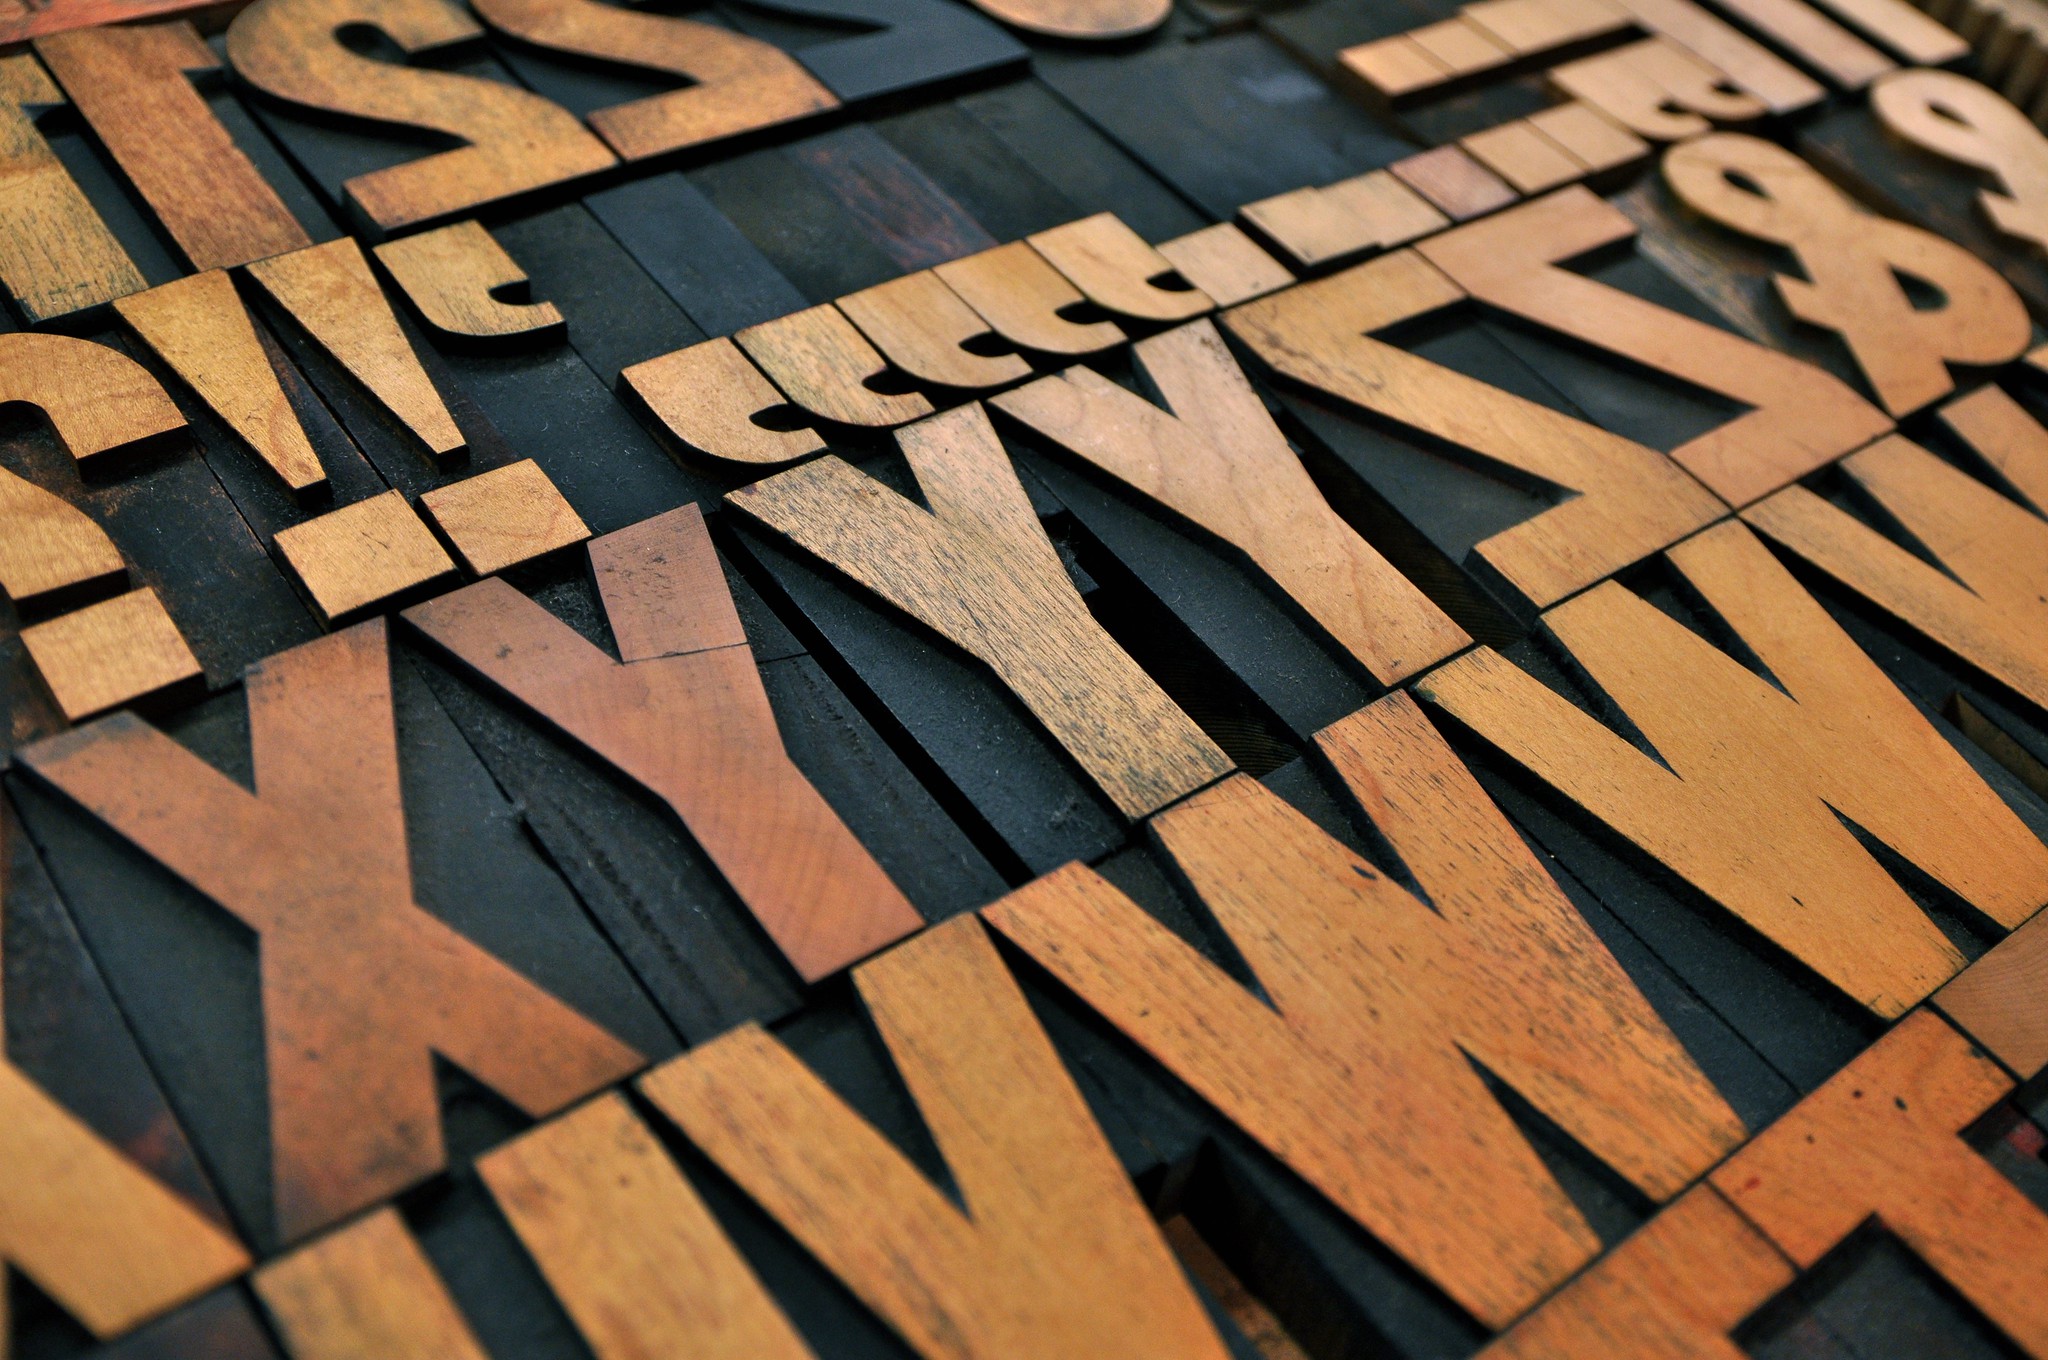
Letterpress printing depends on a raised image, it’s known as a relief process. Movable type was the breakthrough that allowed printers to use and re-use individual characters. When you practice letterpress printing it’s easy to forget just how difficult it must be for type founders to create tiny pieces of cast metal hard enough to withstand a tremendous force that are made to tolerances of less than one thousandth of an inch.
Gutenberg of Germany is credited with the invention of moveable type around 1450; but records show that both Chinese and Korean inventors had used the idea before the time. Gutenberg’s invention was the first to be exploited and the idea spread rapidly. There are three key stages in founding type –
- Punchcutting: creating a three-dimensional representation of the letter in the end of a bar of metal. This skilled work requires a number of other punches and tools to be used to create the punch, and then it be subject to hardening. Modern-day equivalents of punches can be seen in DIY stores to mark metal equipment with initials.
- Creating the Matrix: this step takes the punch, and strikes it in a softer metal to make a negative mould. The metal is usually brass
- Casting: this is filling the mould with molten type metal and removing the cast type
Type Founding in the Printing Economy in the UK
Type founding is a specialist industry needing artistic and design skills in equal measure with engineering prowess and ability to work in some of the very heavy aspects of industry. The industry was centred around the demand in Fleet Street, London; but other significant type founders worked where technical expertise was greatest-for example Stephenson, Blake of Sheffield.
The key constraint for printers was that type from a foundry had to be assembled by hand before printing could begin. This composition activity took a great deal of time and tied up capital in the type needed. As the 19th century grew to a close people we very keen to automate this part of the process-work began to look at producing type in the order it was needed. That’s to say go directly from the copy to the metal type with no sorting or composing process in between.
There became two families of type: foundry type (generally harder quality) that was produced in the great foundries; and composition type (slightly softer quality) that was produced from copy either by a specialist firm, or even by the printer himself.
UK Type Foundries
The UK had a number of very influential foundries. While early metal type from the continent (in particular Dutch type) was considered superior, the UK caught up and great names like Caslon, Figgins and Stephenson, Blake were established. The large number of small foundries gave way to a smaller number of large foundries. The last of the English Foundries, Stephenson, Blake of Sheffield stopped trading in December 2004. That foundry alone had acquired Charles Reed and Sons in 1905, and H. W. Caslon and Co in 1937.
Composition Type
Allowing printers to cast their own type was a key driver behind developments in composition type. There were two broad approaches: build a complete line of type from a machine; or build individual characters in the correct order from the machine.
Linotype and Intertype took a similar approach: the operator sat at a keyboard and typed the copy. While copy was being typed the matrices (type moulds) were assembled within the machine. Once a line was completed the moulds were filled with hot type metal and the resulting ‘slug’ was forced from the machine, being trimmed and shaped in the process. The Ludlow Typograph was similar, but the matrices were assembled by hand.
Monotype adopted a different tack. They split the operation between keying the copy and casting the type. Copy was typed on a Monotype Keyboard powered by compressed air which punched holes in a paper tape. The tape was then taken to a casting machine which used the paper tape to position a case of matrices and cast a single piece of type for each keystroke on the paper tape. The advantage of this approach was to allow for correction after composition had been produced by the machine.
In modern times, Monotype machines can be controlled by computer–allowing the direct production of metal type from a computer keyboard.
In this section
-

Photopolymer
The clever invention, just too late to make a difference to letterpress’ demise, but that keeps some printers happy today
-
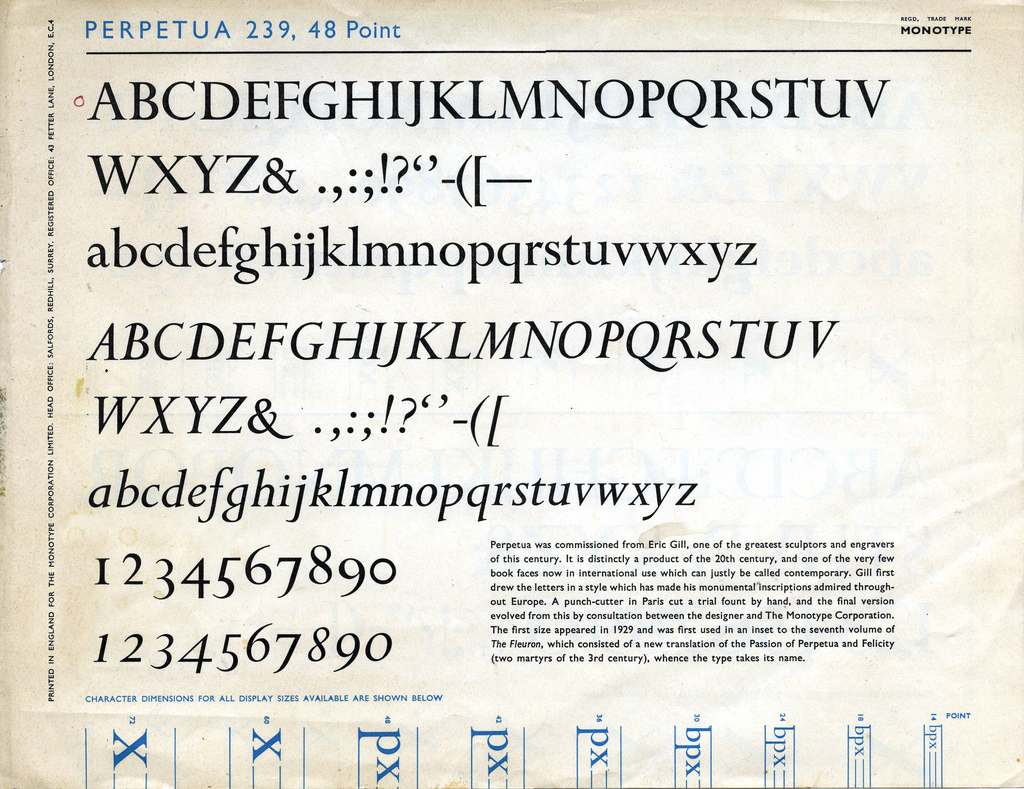
Choosing Typefaces
A starting point for the age-old problem of choosing a house face
-

The Point System
How did we in the English-speaking world arrive at 0.01387” as one point?
-

Type Synopses
The obscure join between maths and printing — making sure each letter is in the right proportions
-

Type Founders
Other UK type founders
-
Linotype and Intertype Salvage
A guide — in note form — to salvaging a Intertype or Linotype
-

The Monotype System
The system that spawned a great name in letterpress and the typography we use today
-

The Ludlow Typograph
The less-popular brother of the Intertype/Linotype and the Monotype system
-

Elrod Strip and Rule Caster
The machine used by smaller printers to cast new ‘strip material’
-

Woodletter or Poster Types
Bigger type to produce those wonderful inky letterpress posters
-
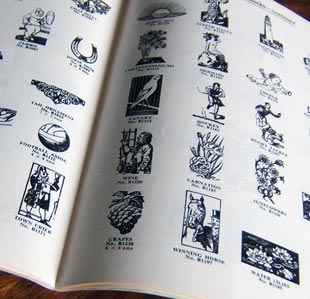
Finding Second-Hand Type
How to find and buy second-hand type
Further Information
- Dave Huges’ MetalType.co.uk site focusses on non-foundry type, especially Intertype and Linotype machines. The site also includes some letterpress-related classified adverts