
This is an account of dismantling a Crown Folio Arab Platen. The machine is early (Serial Number 1086 c. 1892) but has had a number of safety features fitted. The guide below shows the major steps and will be added to. There’s a special section at the foot of this page about the braking system.
The main body of the Machine
The starting point: a complete Arab

Inking Disk Removed (remember to replace the bolt underneath).

Feed board removed

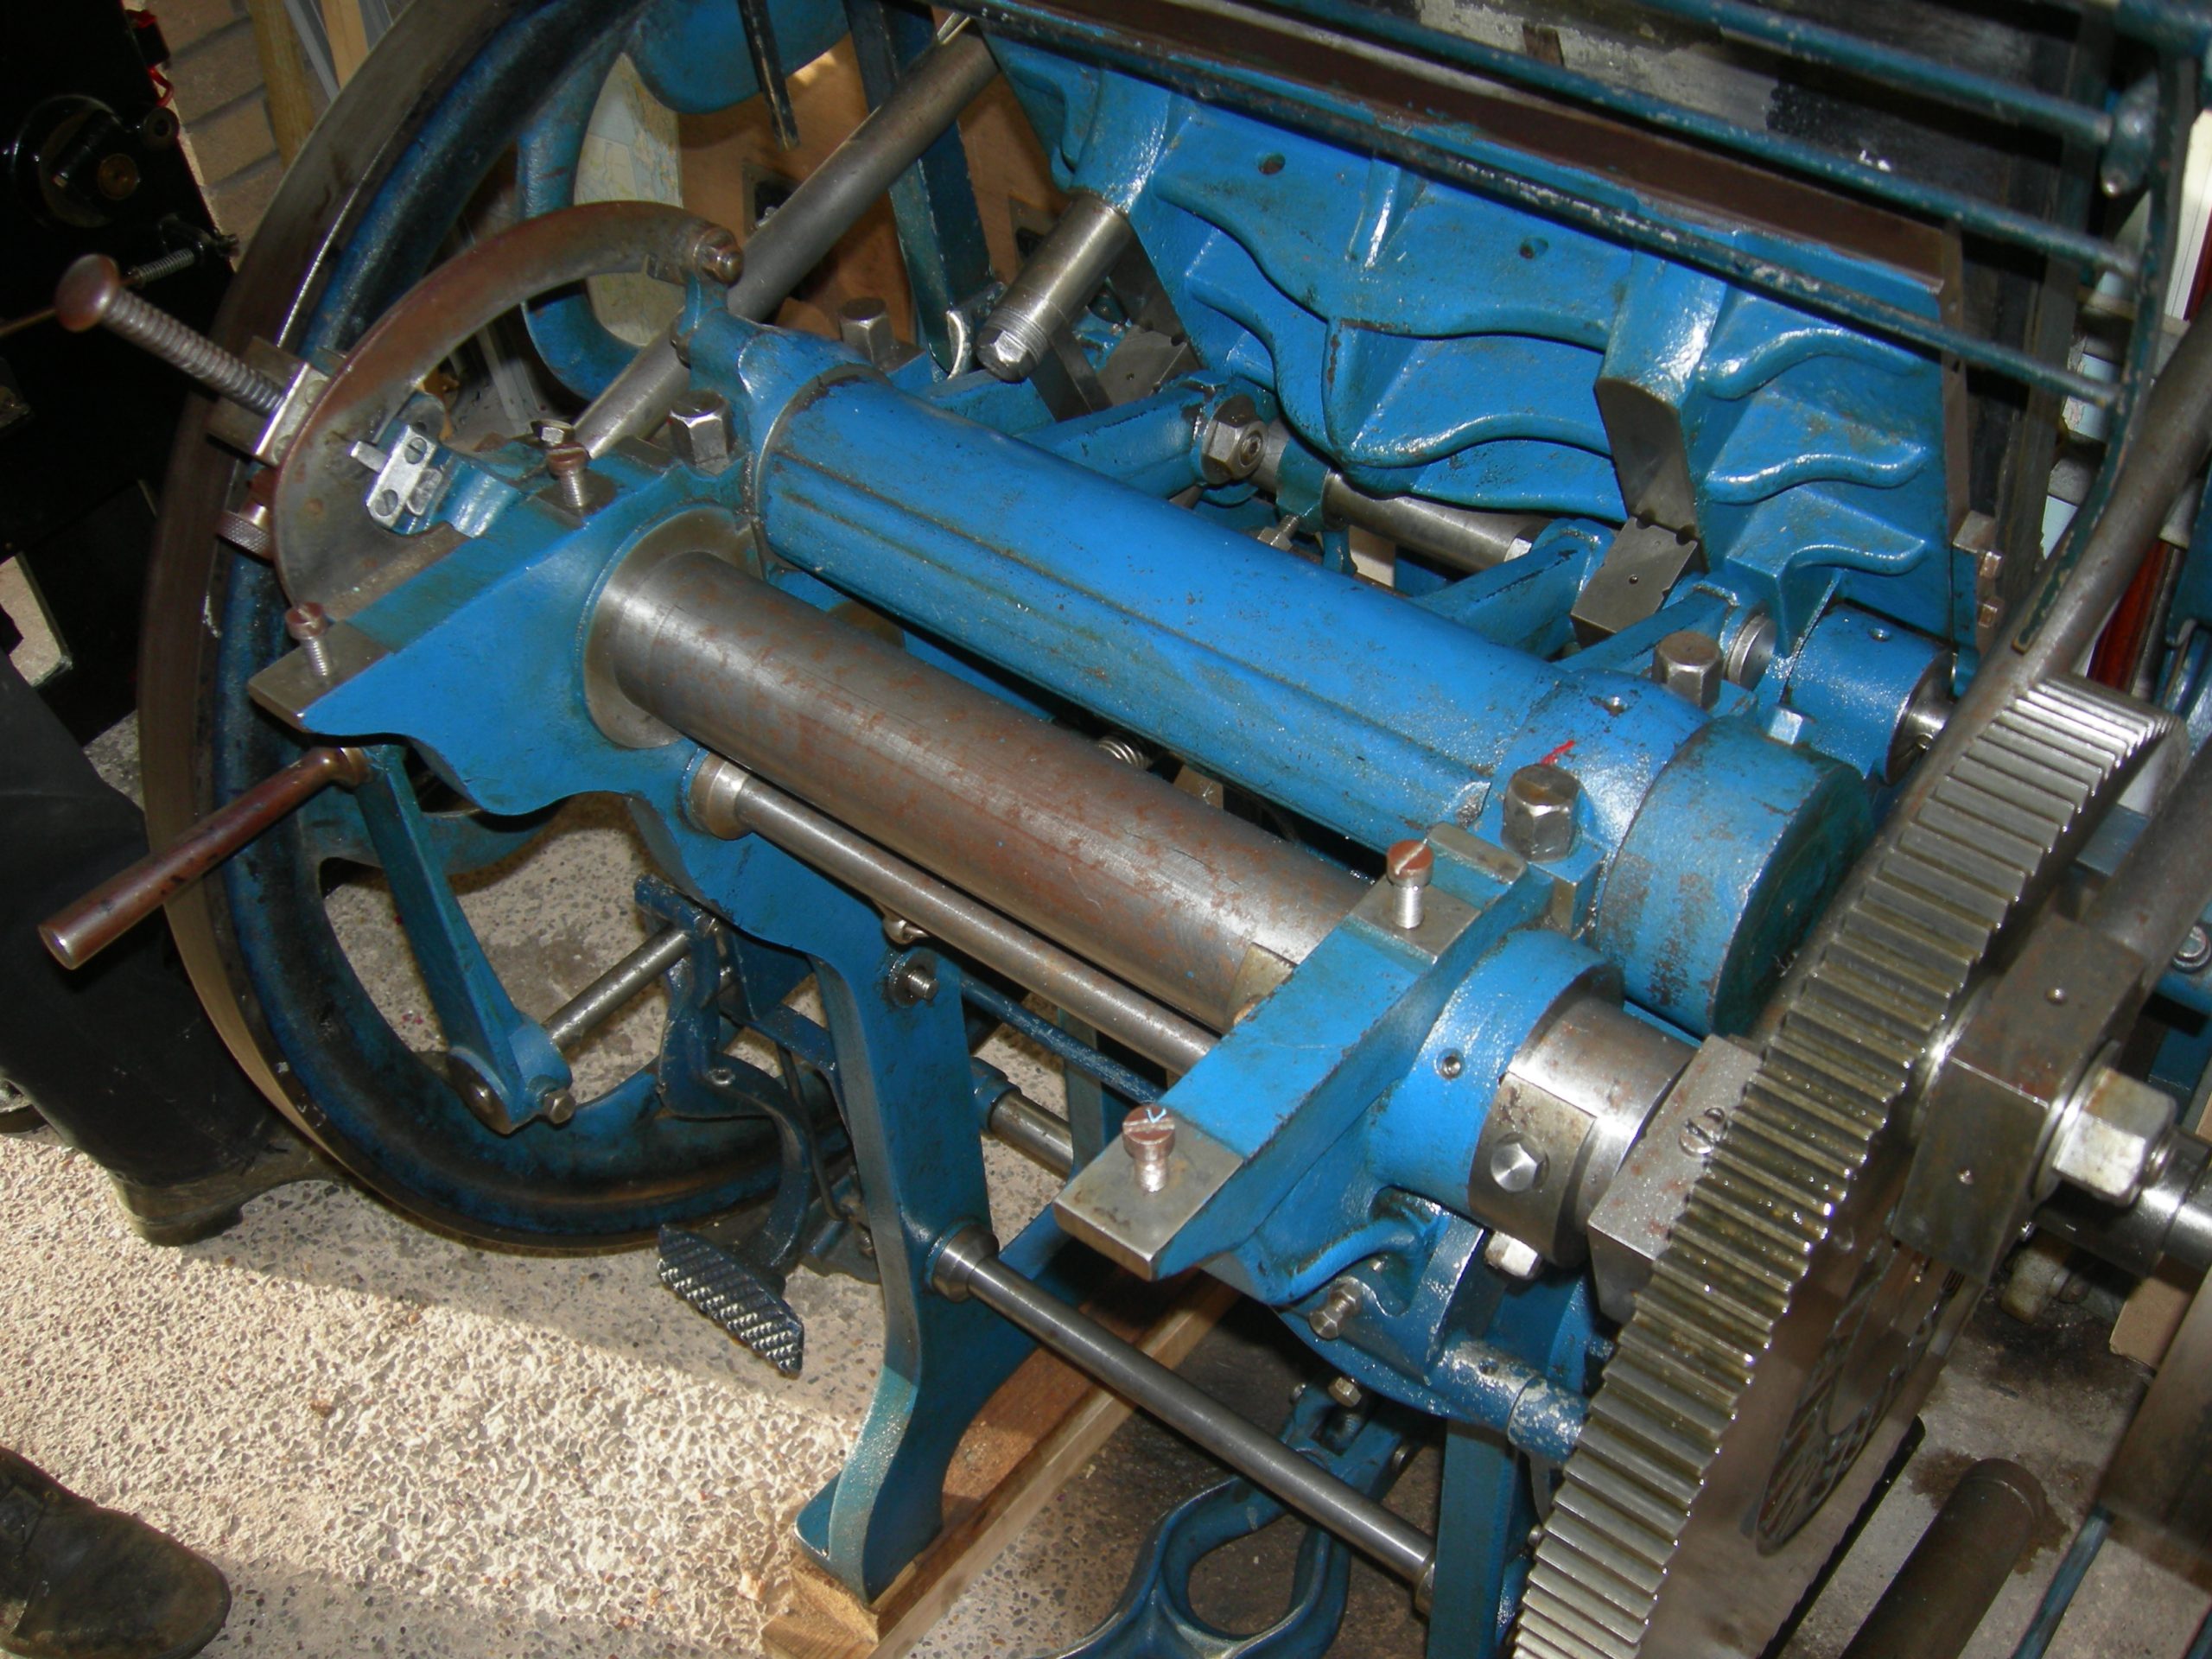
One of the inking arms removed. Remember that they are under the pressure of a spring so you have to keep hold of the arm as you release. In preparation for this you should have removed the rollers and stocks; and also removed the metal bar which links left and right roller arms: keep this safe!

Over-arching guard removed by unbolting one site of the guard bars (not pictured)
There are two strong springs which force the front platen towards to back platen. These need to be un-hooked while the front platen is almost vertical. The two collars and hooks on the platen site need to be loosened so that the bar can be slid out later on.

The two bolts on the left of the front platen must be removed so that the front platen is held only on the supporting bar. Remove the supporting bar and lift the front platen out. This is fairly delicate as it will still contain the frisket motion.

The Arab wheel can now be slid from left to right and removed from the machine

The ‘rock horse’ is now removed. This is the U‑shaped metal casting which forces the front platen upwards. This rests in two slots is the frame covered by two semi-circular castings bolted down.

The back platen is now removed as a single large unit: including the platen and the supporting casting. This is very heavy but will save trouble because the back platen will not have to be re-adjusted. The eccentric is also removed: this is the rod which holds the impression lever.

The braking system
Side view of the braking system

Top view of the braking system

